canvas-sketch
:closed_book: canvas-sketch → Documentation → Hello, World
A “Hello, World” Sketch
After installing the command-line interface, you can start to create a new artwork.
With canvas-sketch, you define an artwork by a sketch function. This sets up local state and loads any assets.
This sketch function then returns a renderer function. The renderer is in charge of drawing the artwork based on props, i.e. the current state of the application.
To start, let’s generate a new sketch file at ./hello.js.
canvas-sketch hello.js --new
Now, with the development server running on localhost:9966, we can edit the new file and replace it with the following:
// Import the library
const canvasSketch = require('canvas-sketch');

// Specify some output parameters
const settings = {
  // The [ width, height ] of the artwork in pixels
  dimensions: [ 256, 256 ]
};

// Start the sketch
const sketch = () => {
  return (props) => {
    // Destructure what we need from props
    const { context, width, height } = props;

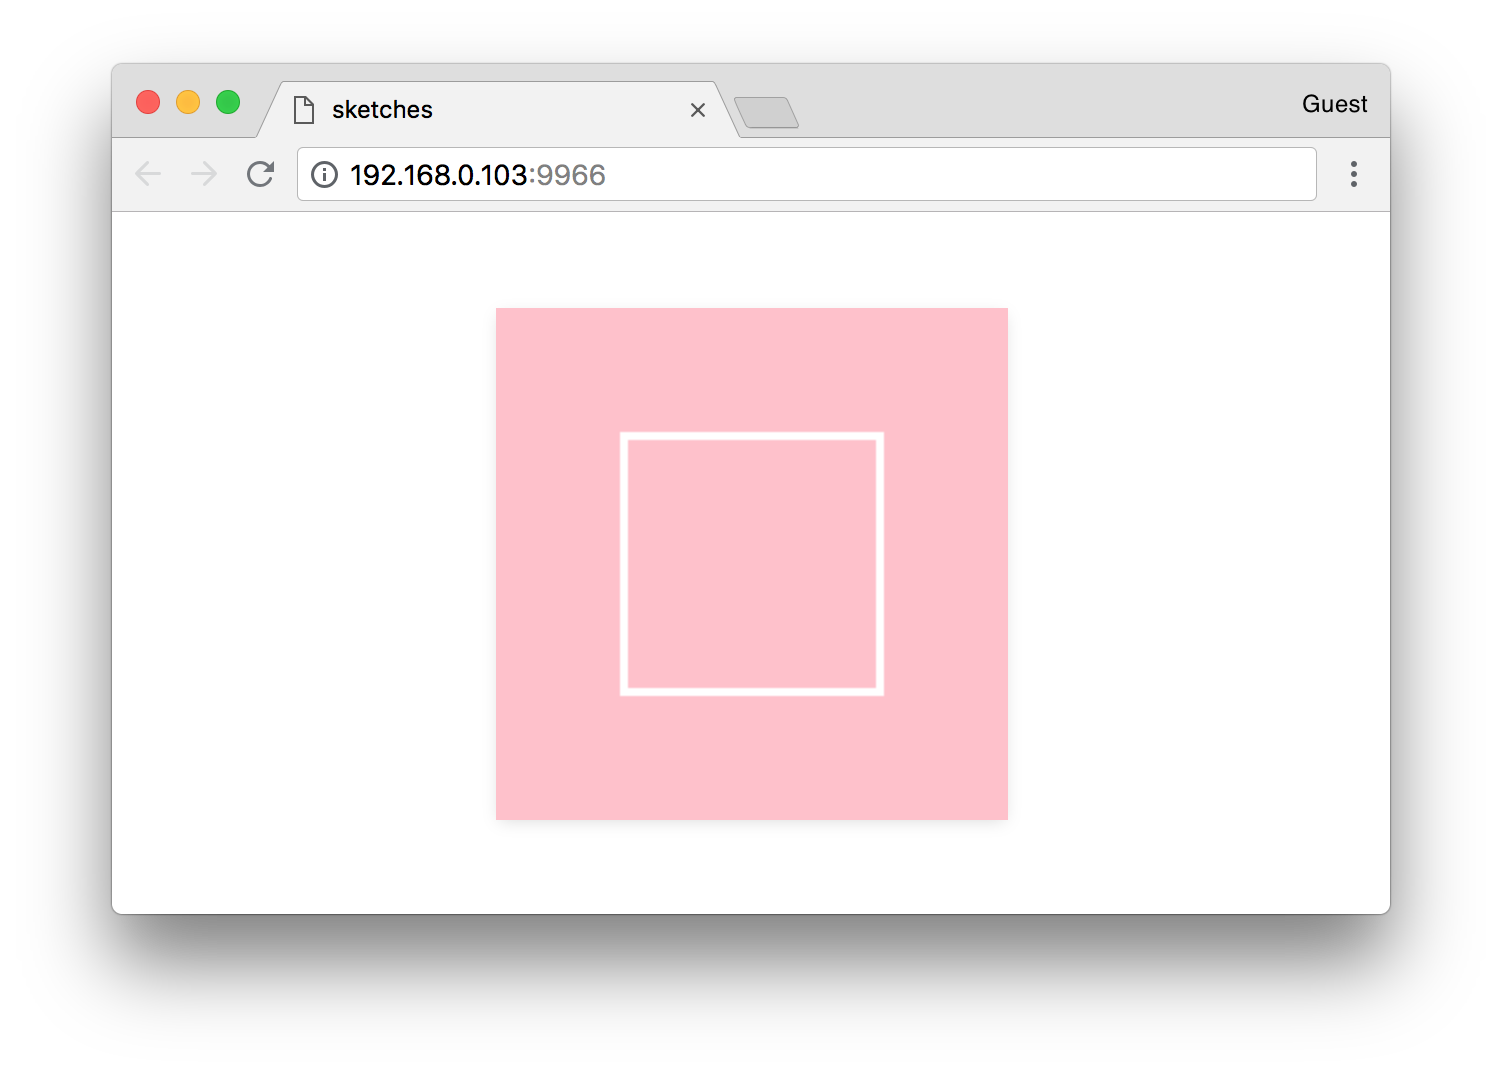
    // Fill the canvas with pink
    context.fillStyle = 'pink';
    context.fillRect(0, 0, width, height);

    // Now draw a white rectangle in the center
    context.strokeStyle = 'white';
    context.lineWidth = 4;
    context.strokeRect(width / 4, height / 4, width / 2, height / 2);
  };
};

// Start the sketch with parameters
canvasSketch(sketch, settings);
You should see this in the browser:

Canvas API
canvas-sketch is built around the browser’s <canvas> element. There are two different APIs you can take advantage of with Canvas:
- Canvas 2D — for rendering 2D shapes, lines, polygons, gradients, and text
- WebGL — for rendering 3D and hardware-accelerated graphics
By default, canvas-sketch will set up a new 2D canvas, giving you a { context } property. For more details on what is possible with the Canvas 2D context, see the MDN Canvas documentation.
The settings Parameter
Notice we passed a settings object to canvasSketch() which defines how the canvas should be scaled, rendered and exported.
The dimensions specifies the [ width, height ] of our artwork (by default, in pixels). If you don’t specify dimensions, the artwork will scale to the full size of the browser.
require() and Node/npm
The docs and examples use CommonJS require() to bring in the canvas-sketch library, as well as other libraries and utilities. If you prefer, you can also write your sketches with import and export statements, as the CLI tool also supports ES Module syntax:
import canvasSketch from 'canvas-sketch';
Exporting Artworks as PNG
If you hit Cmd + S or Ctrl + S while developing (with the window in focus), the browser will download a PNG image of your canvas. Usually this file is saved to your ~/Downloads folder.
We will come back to this feature later, as there are many options to export high quality prints, animation sequences, etc. You can also read more about it in the Exporting guide.
Props & State
The structure of canvas-sketch is inspired by React rendering, and it’s recommended to make the renderer as pure as possible (i.e. same props always leads to same result).
Since your sketch may re-render at times (i.e. during export or when the canvas size changes), you shouldn’t introduce side-effects and randomness into your render function.
Here is what not to do:
// Not so good !
const sketch = () => {
  return ({ width }) => {
    // !!!
    // This may produce different results in re-renders
    const startX = Math.random() * width;
    context.fillRect(startX, 0, 50, 50);
  };
};
Instead, you can define local state (like random values that should be consistent across renders) outside your renderer.
// Good !
const sketch = () => {
  // Select an initial 0..1 random, outside your renderer
  const startXScale = Math.random();

  return ({ width }) => {
    // Now scale to current width to get consistent rendering
    const startX = startXScale * width;
    context.fillRect(startX, 0, 50, 50);
  };
};
##
Now that you’ve got a basic sketch, you can move on to Animated Sketches.